This is a collection of my notes on the process of designing and constructing a model of Dr Who's TARDIS.Currently this is a hobby build, but the first stage of licensing discussions has been conducted with the BBC regarding possible commercial production.
All these designs were created using CorelDRAW X4 and a Universal Laser Systems VersaLASER VLS460.
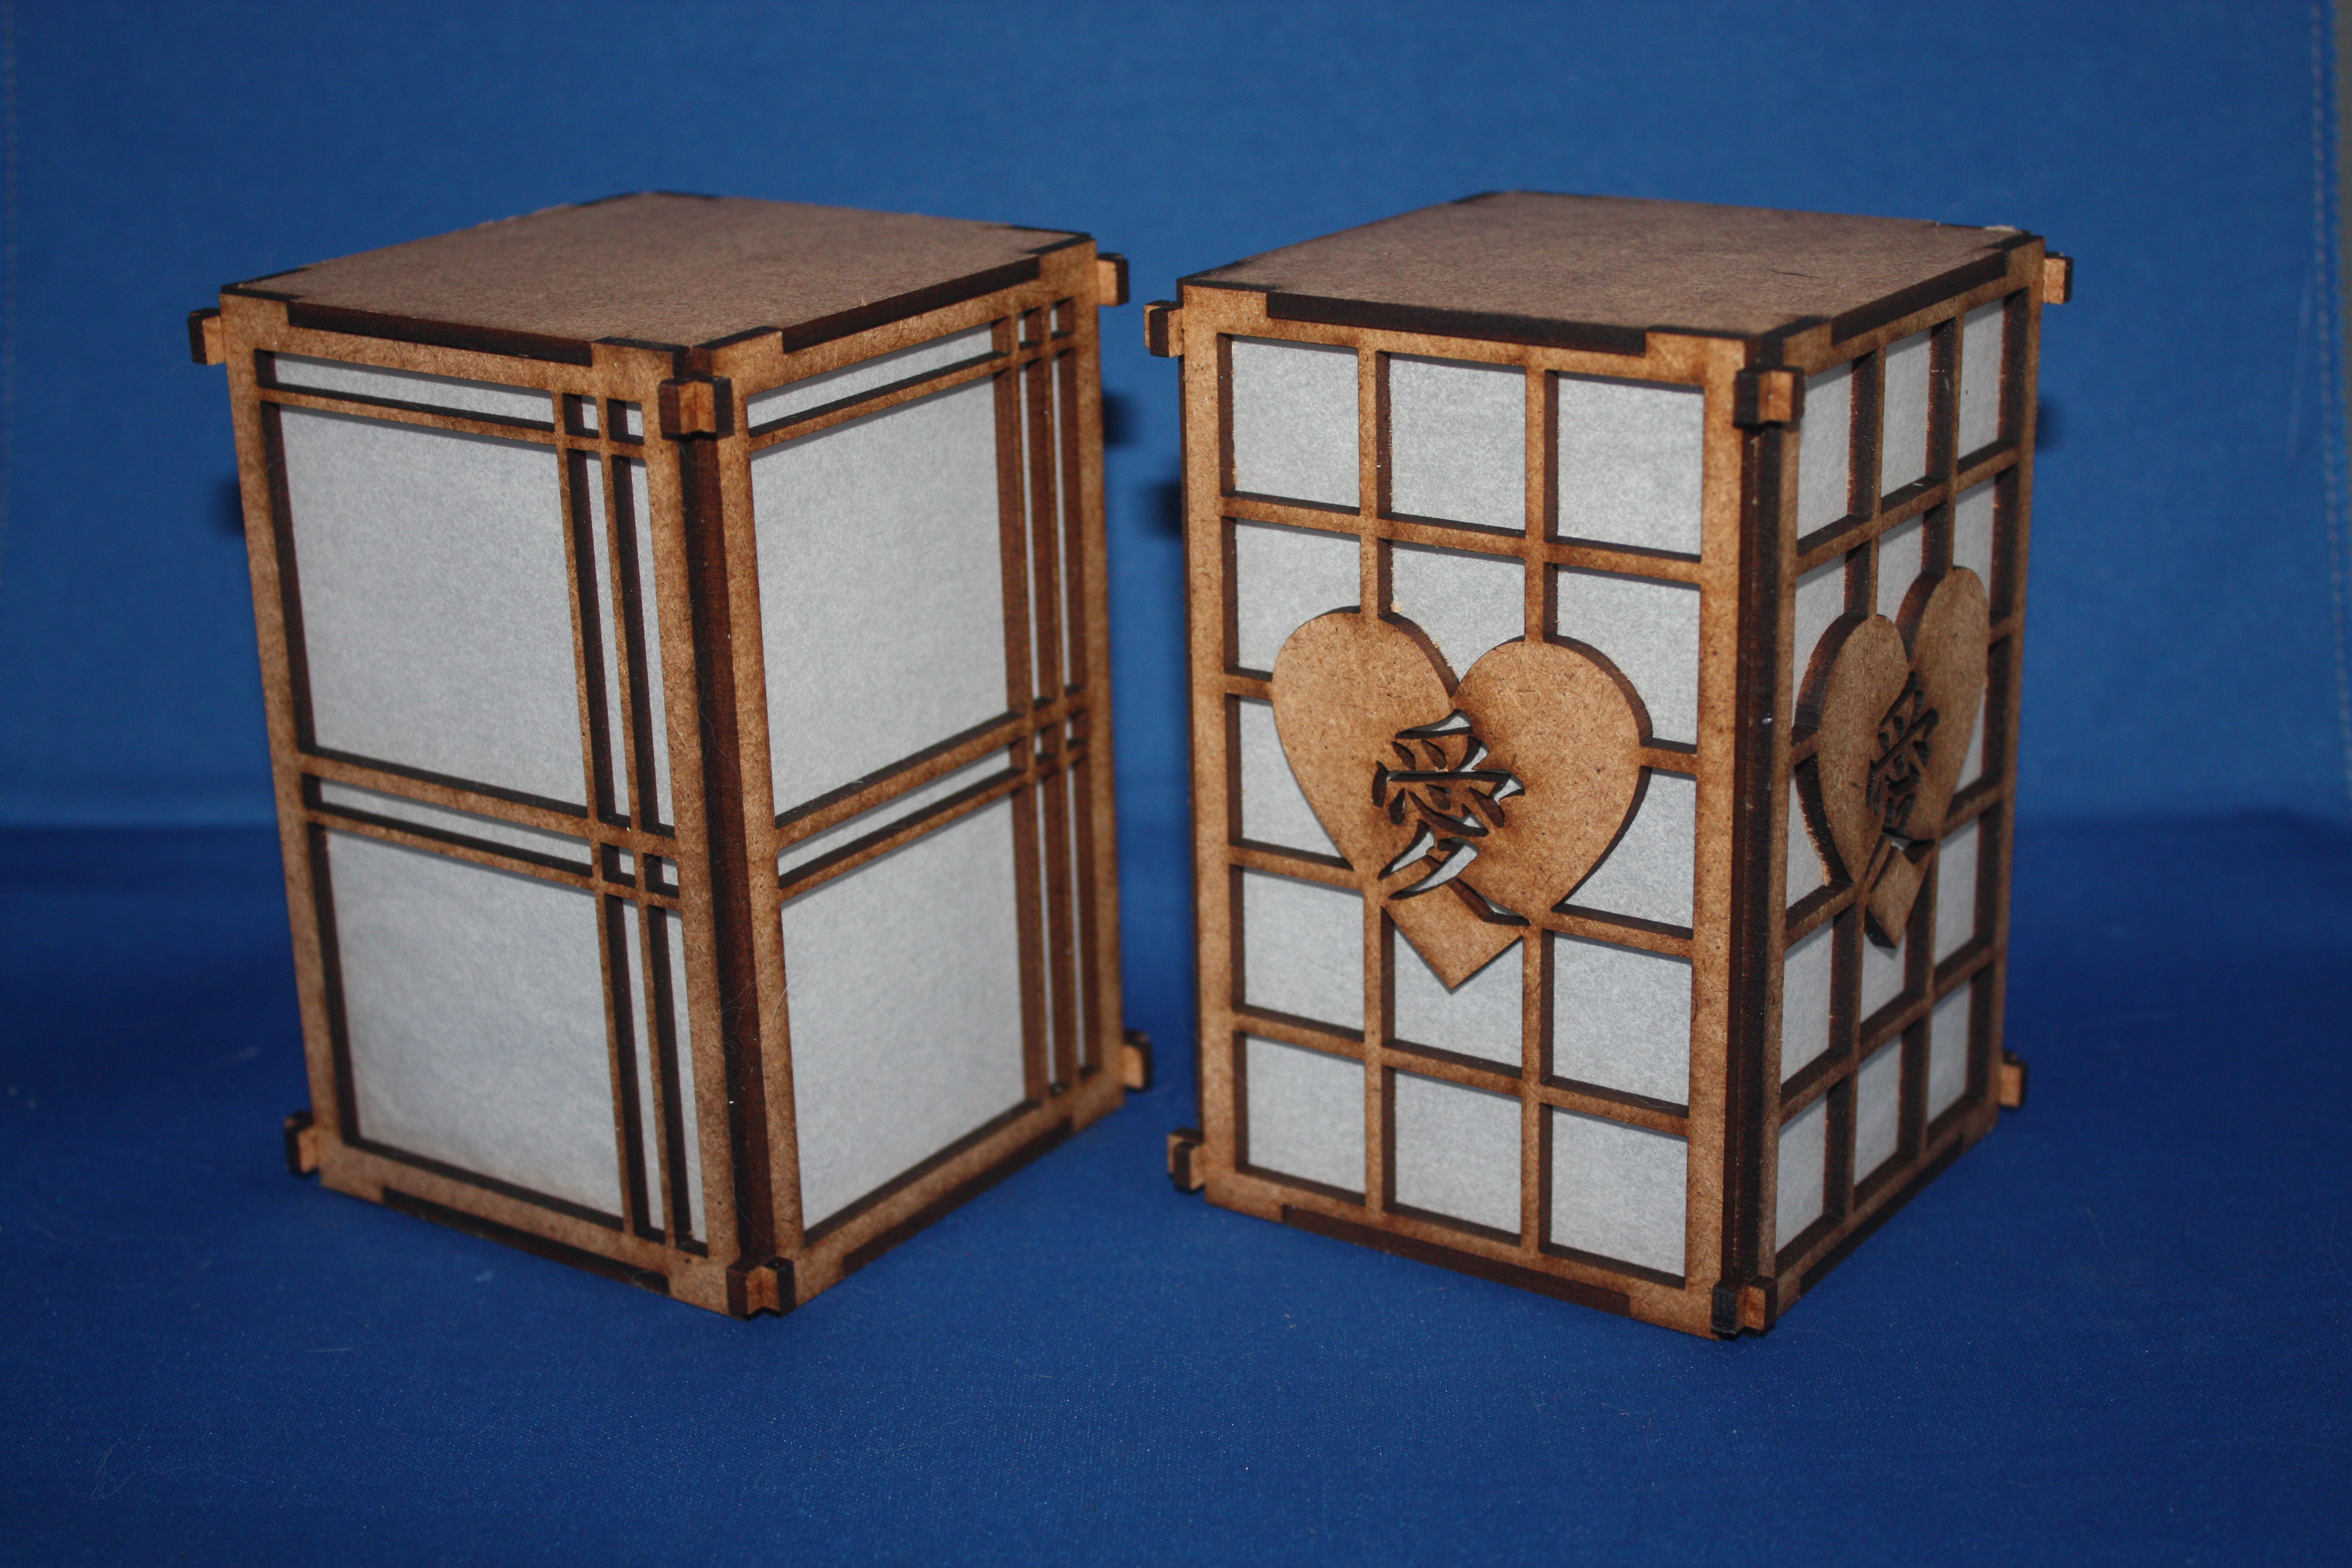
The Shoji Style Tea Light that started it all.
This design came from a file provided on the Thingiverse web site.
The Prototype TARDIS (Mark 1) - August 8, 2010
The first revision - TARDIS Mk 2
The last of the Shoji tea light based versions - TARDIS Mk 3
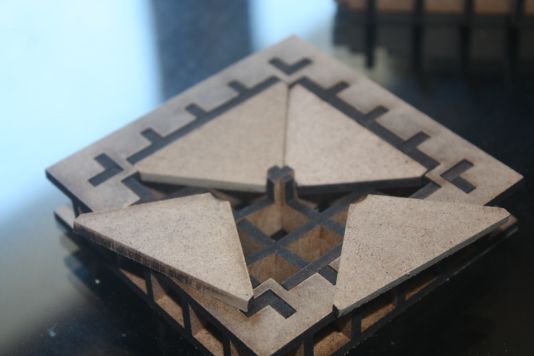
I wasn't happy with the external clips, the proportions, the roof line and the parts fit on the original Shoji Lantern based models. , so I decided that it was time for a ground up redesign. My Idea for hiding the clips necessitated the construction of a basic "proof of concept tester" to validate my ideas for the totally revamped design.
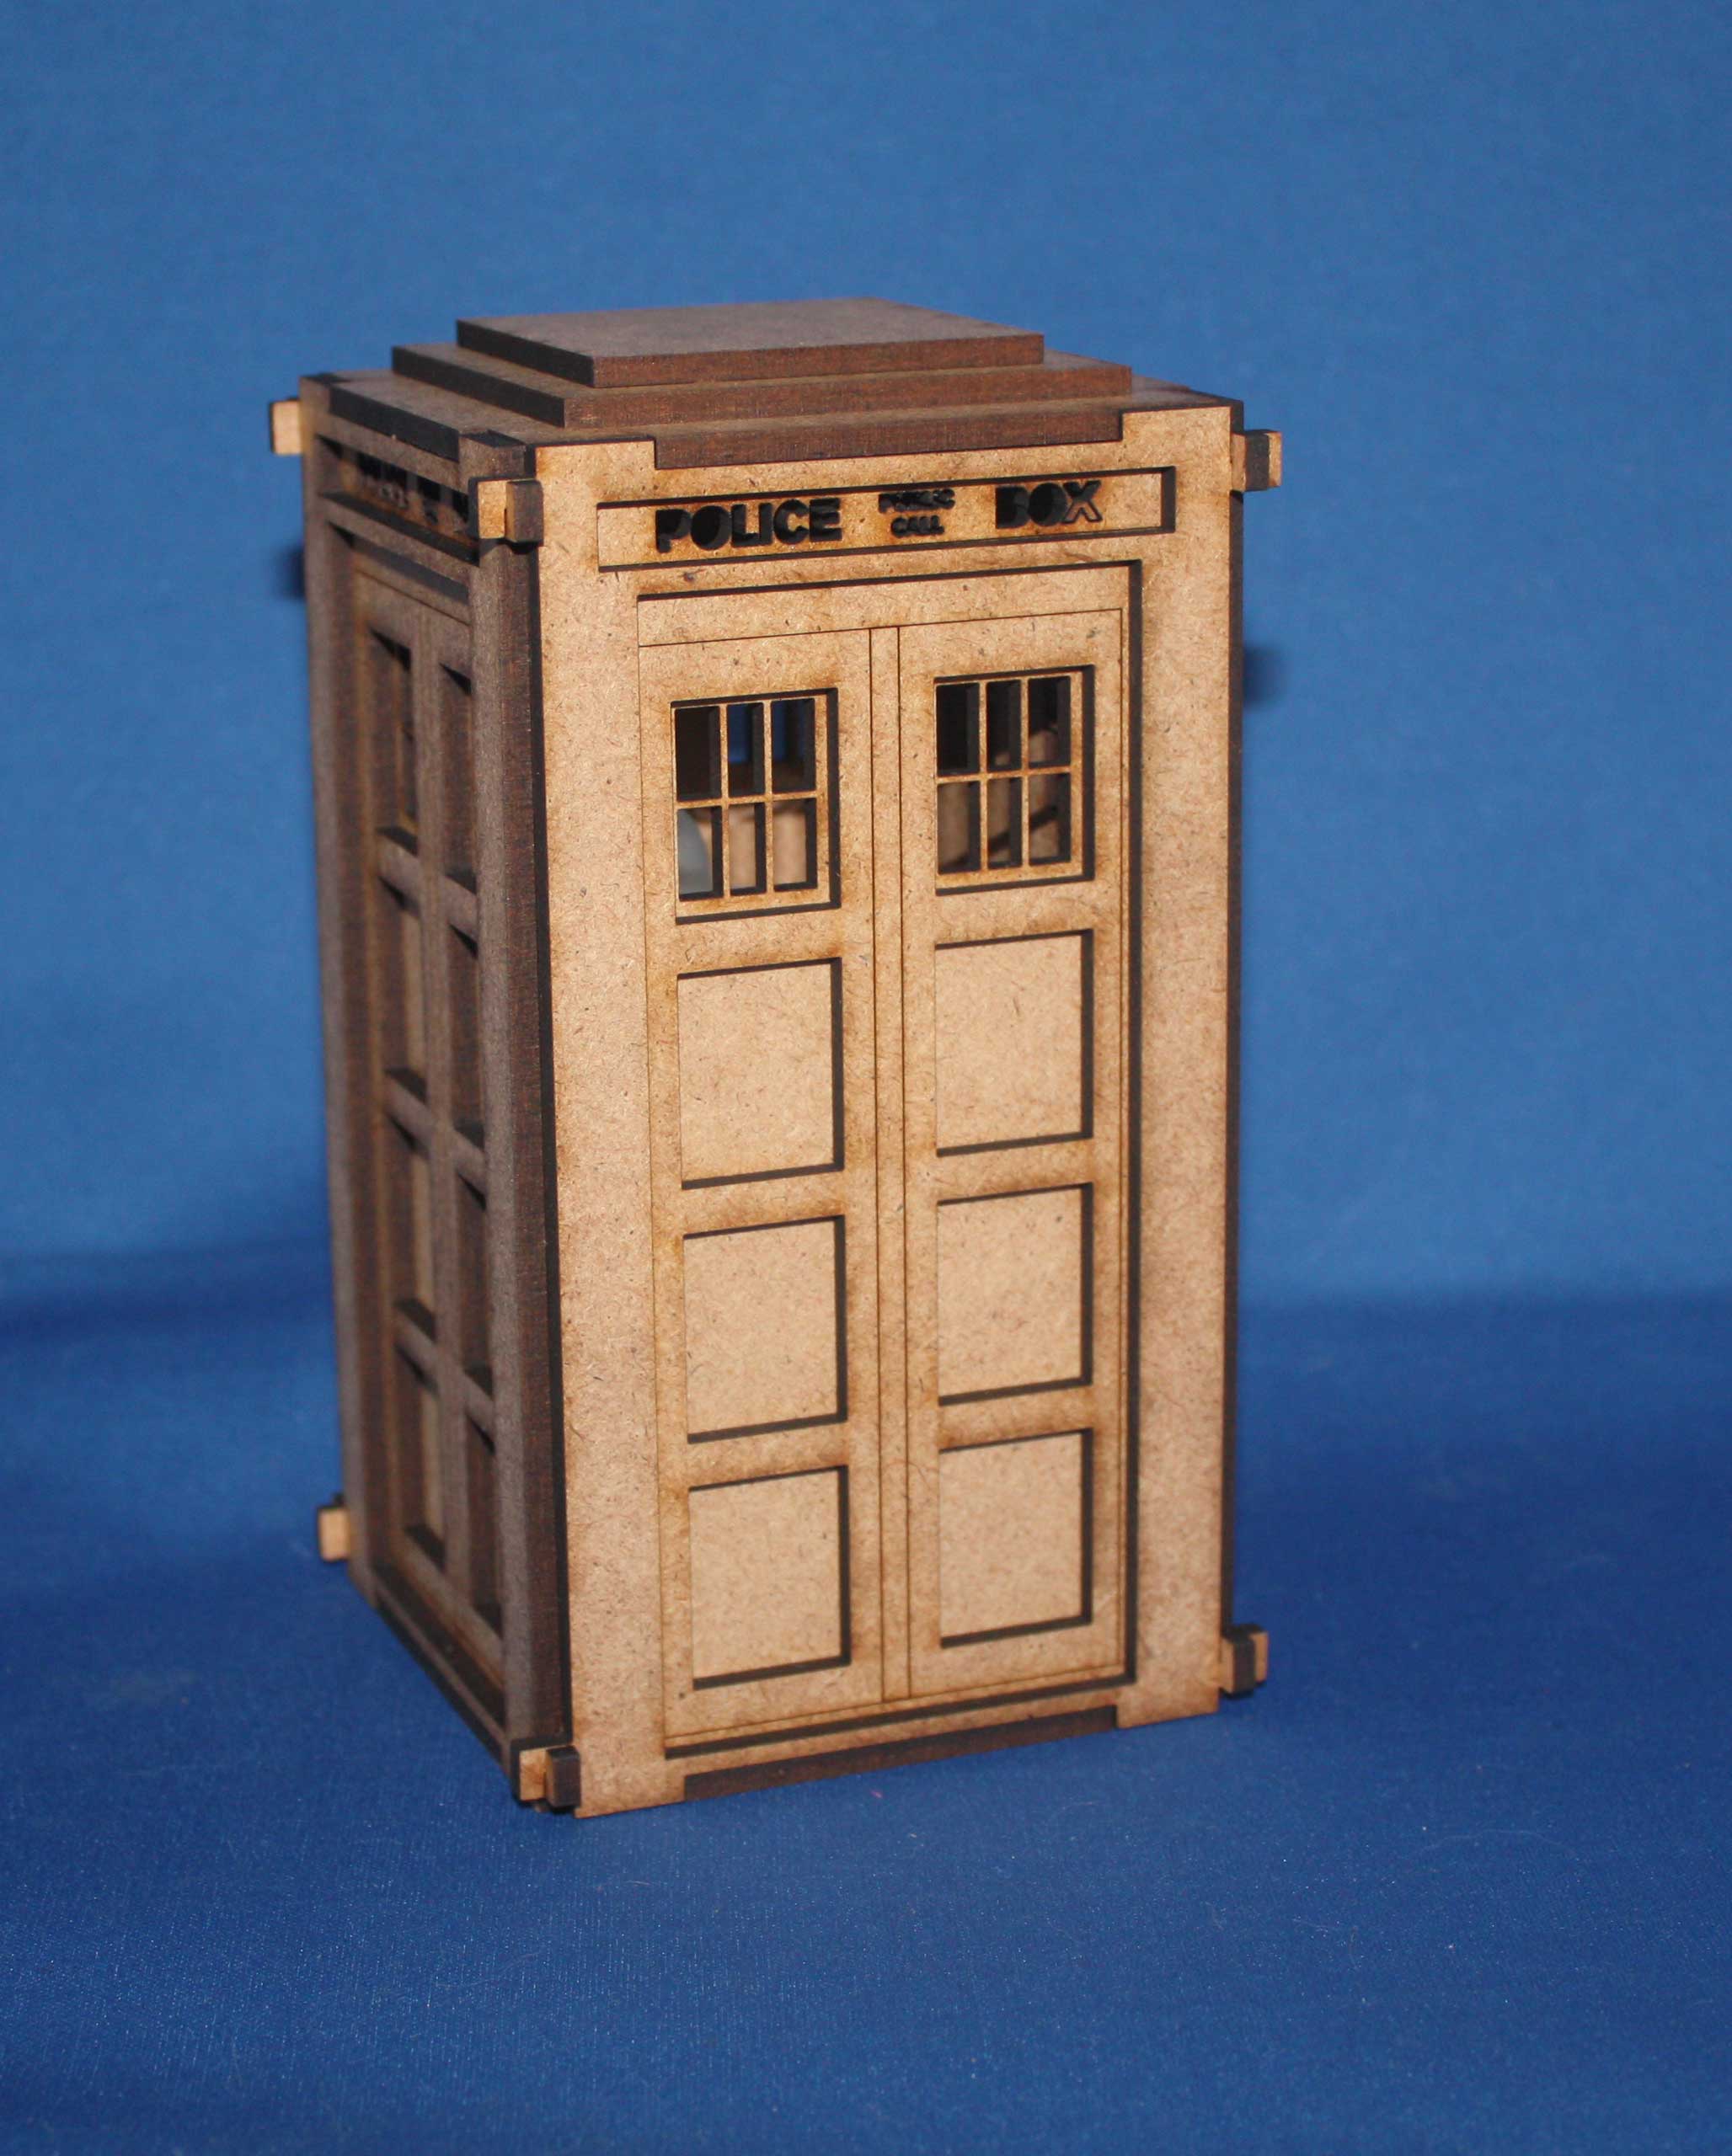
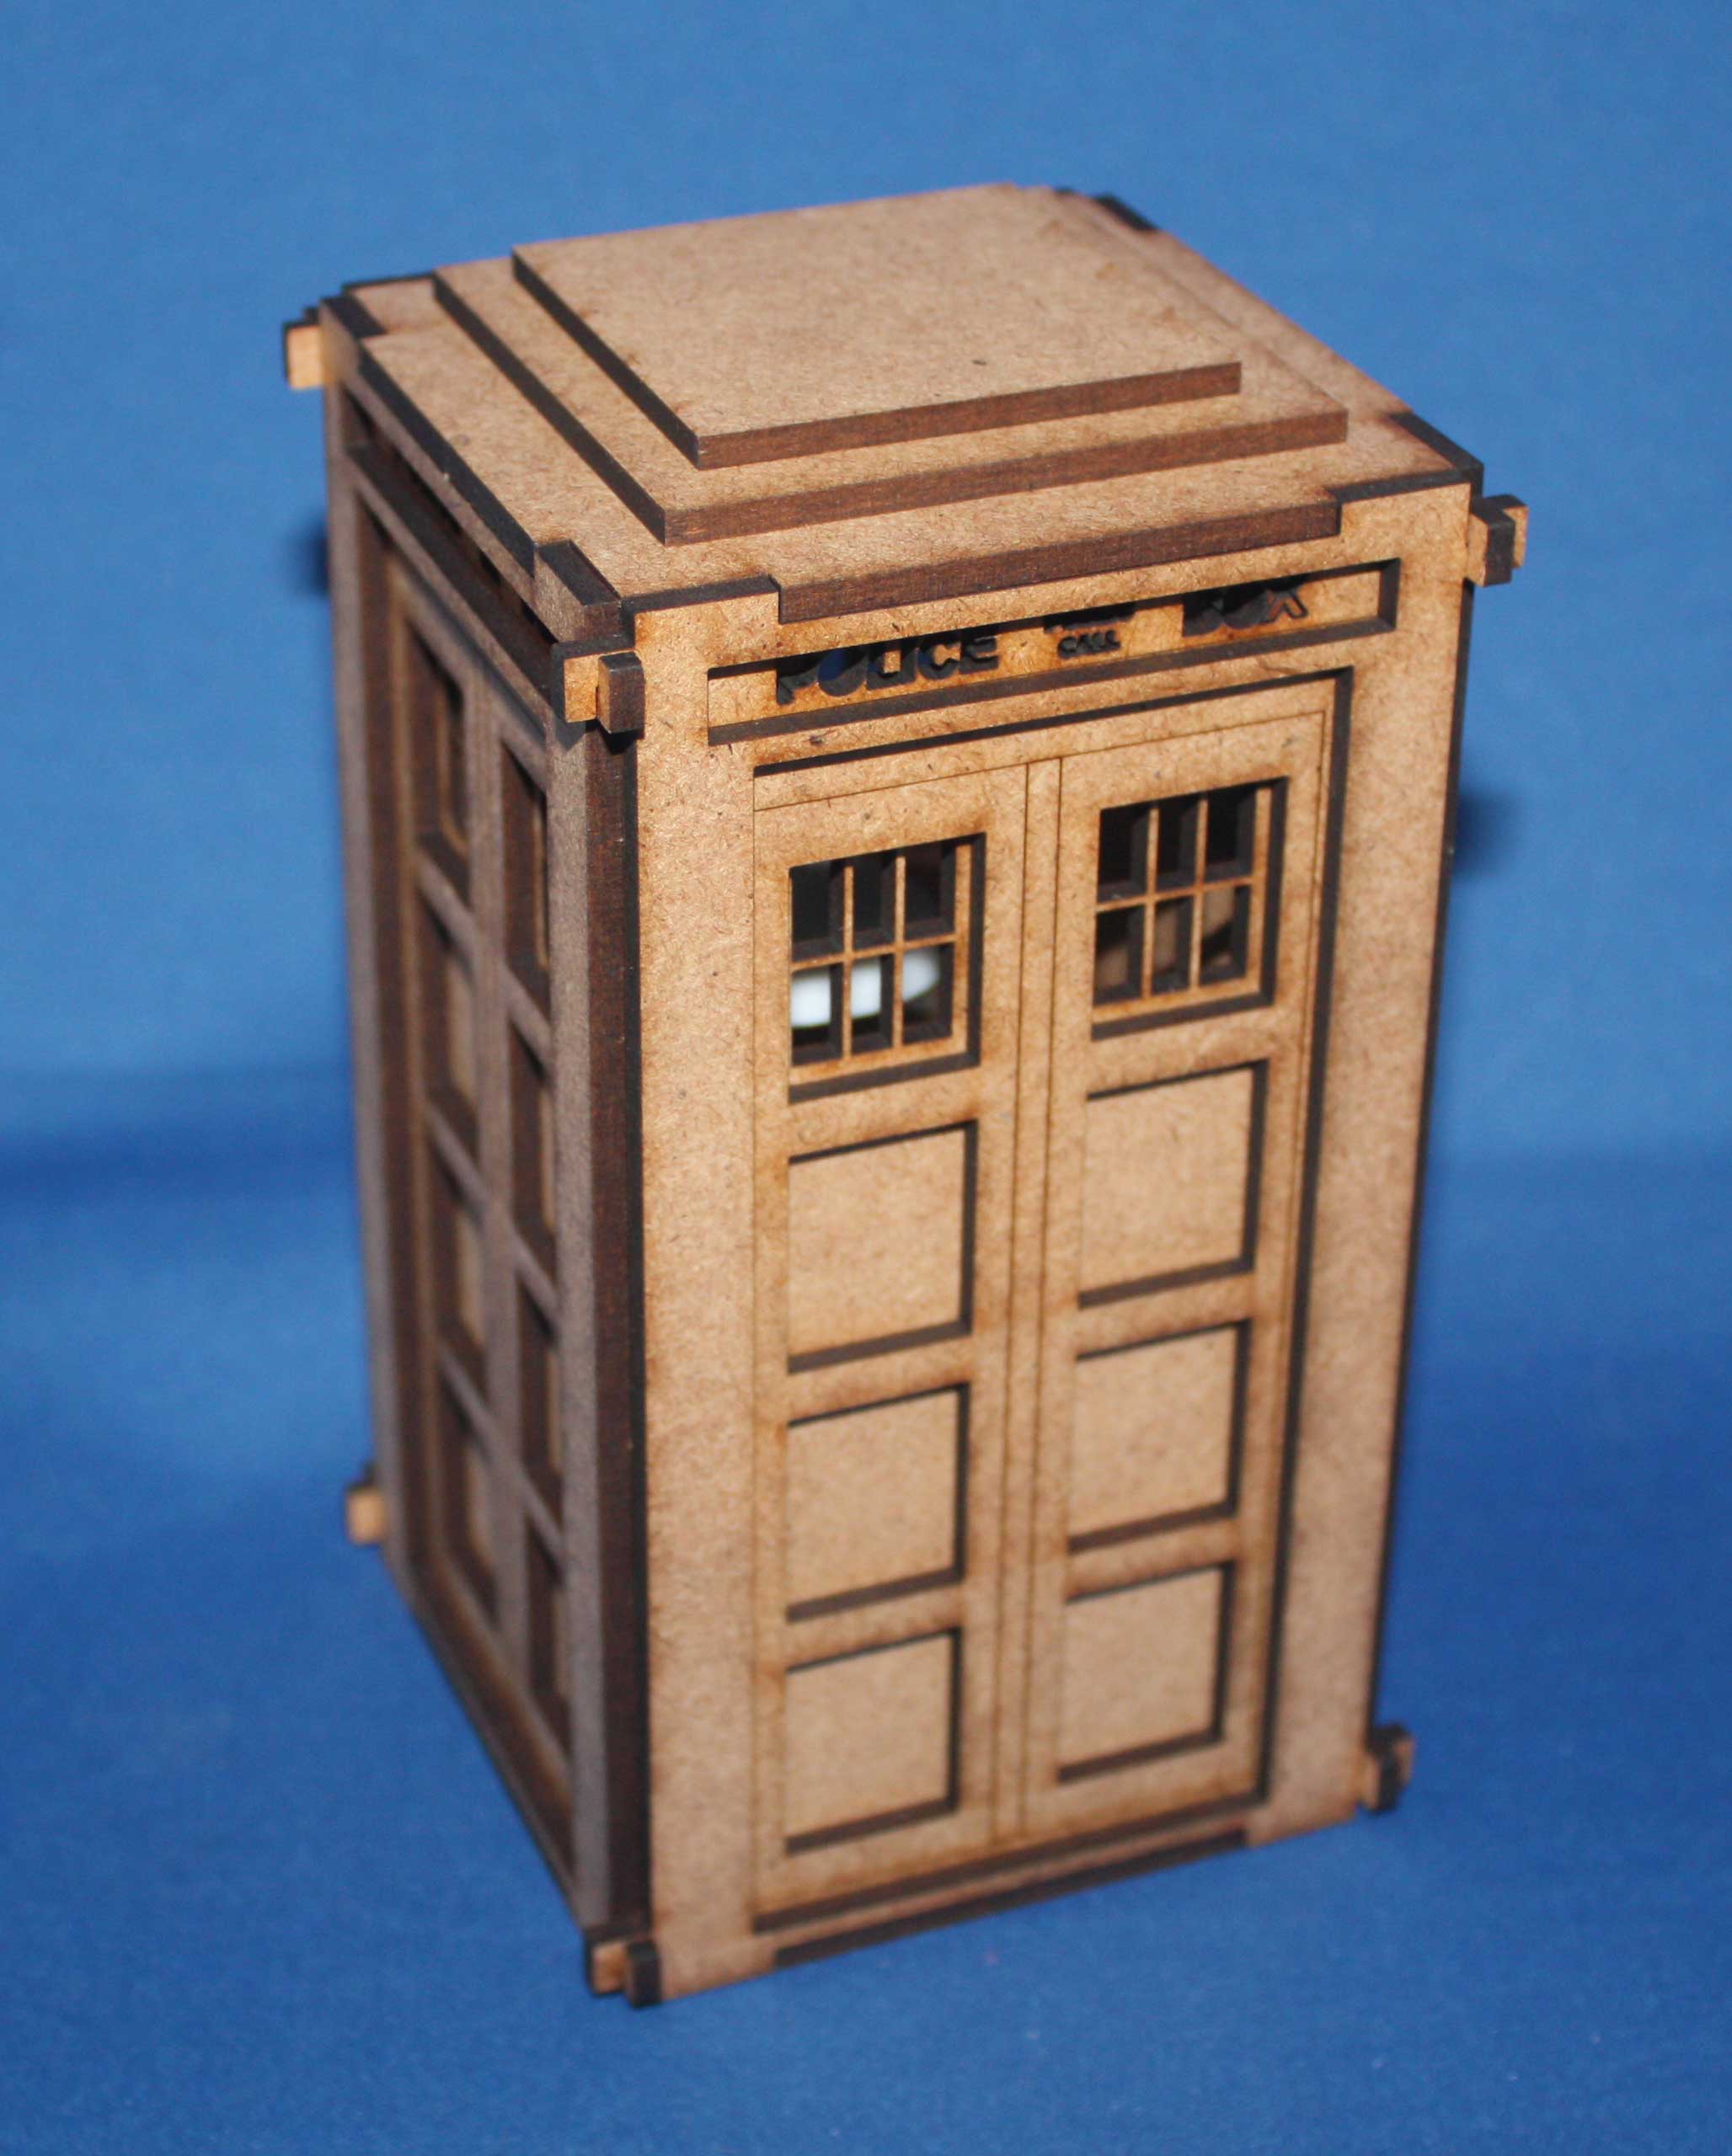
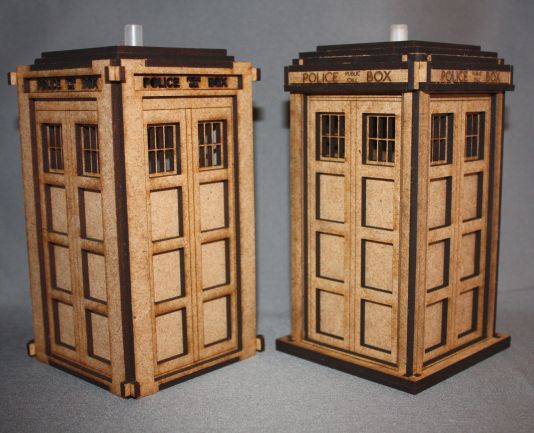
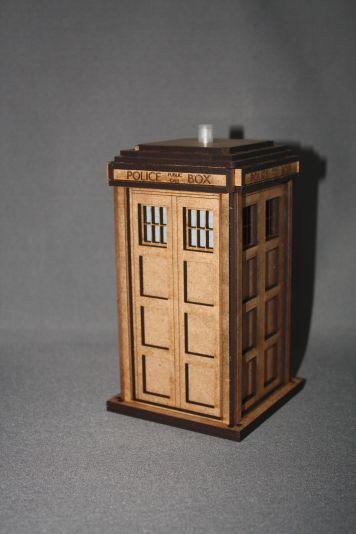
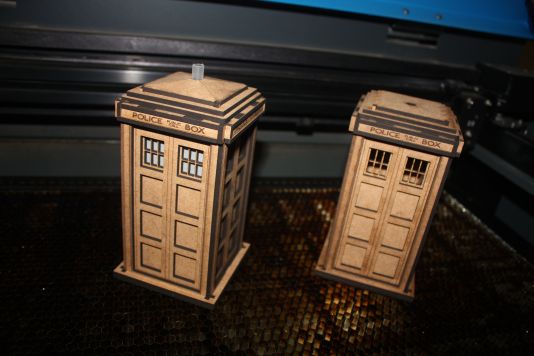
The first of the new series - TARDIS Mk 4 - August 22, 2010 (here shown with the prototype)
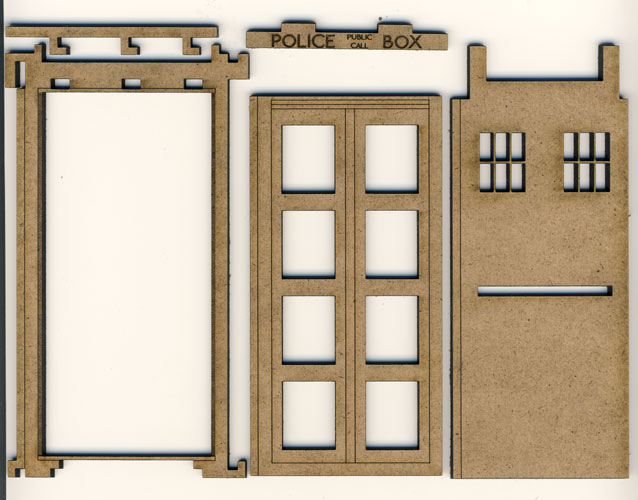
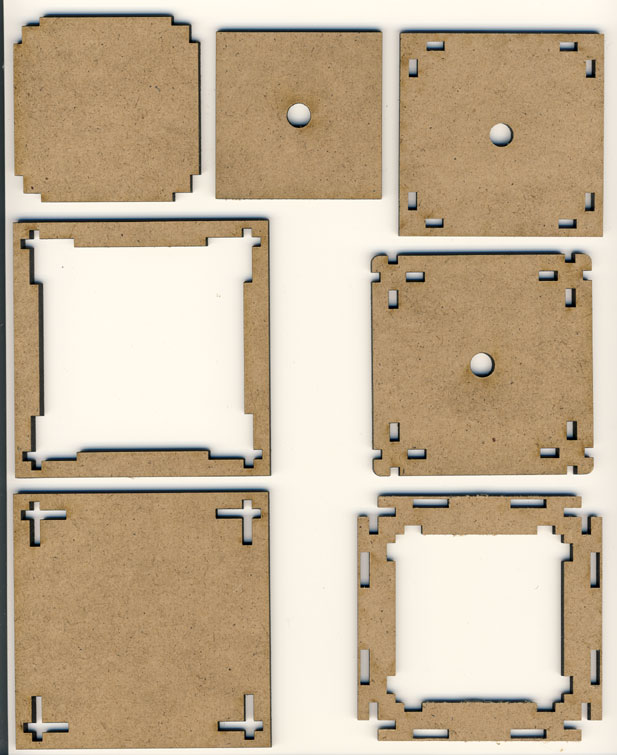
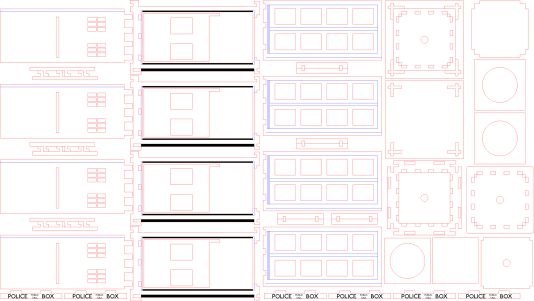
So what pieces do you need to build the above TARDIS model?
Four identical sets of these body pieces:
and one set of these core pieces:
From this point on, all the TARDIS revisions were just improvements of the Mark 4
lets fit some simulated "glass" - TARDIS Mk 5 - August 25, 2010
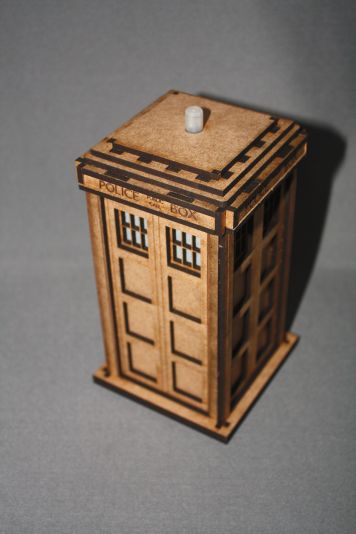
Lets make the roof easier to remove - TARDIS Mk 6 - August 26, 2010
Externally, the Mark 6 eliminates 16 of the pegs in the roof to make it easier to remove the roof sections for access to the LED tea light inside.
Tweak a few assembly problems - TARDIS Mk 7 -
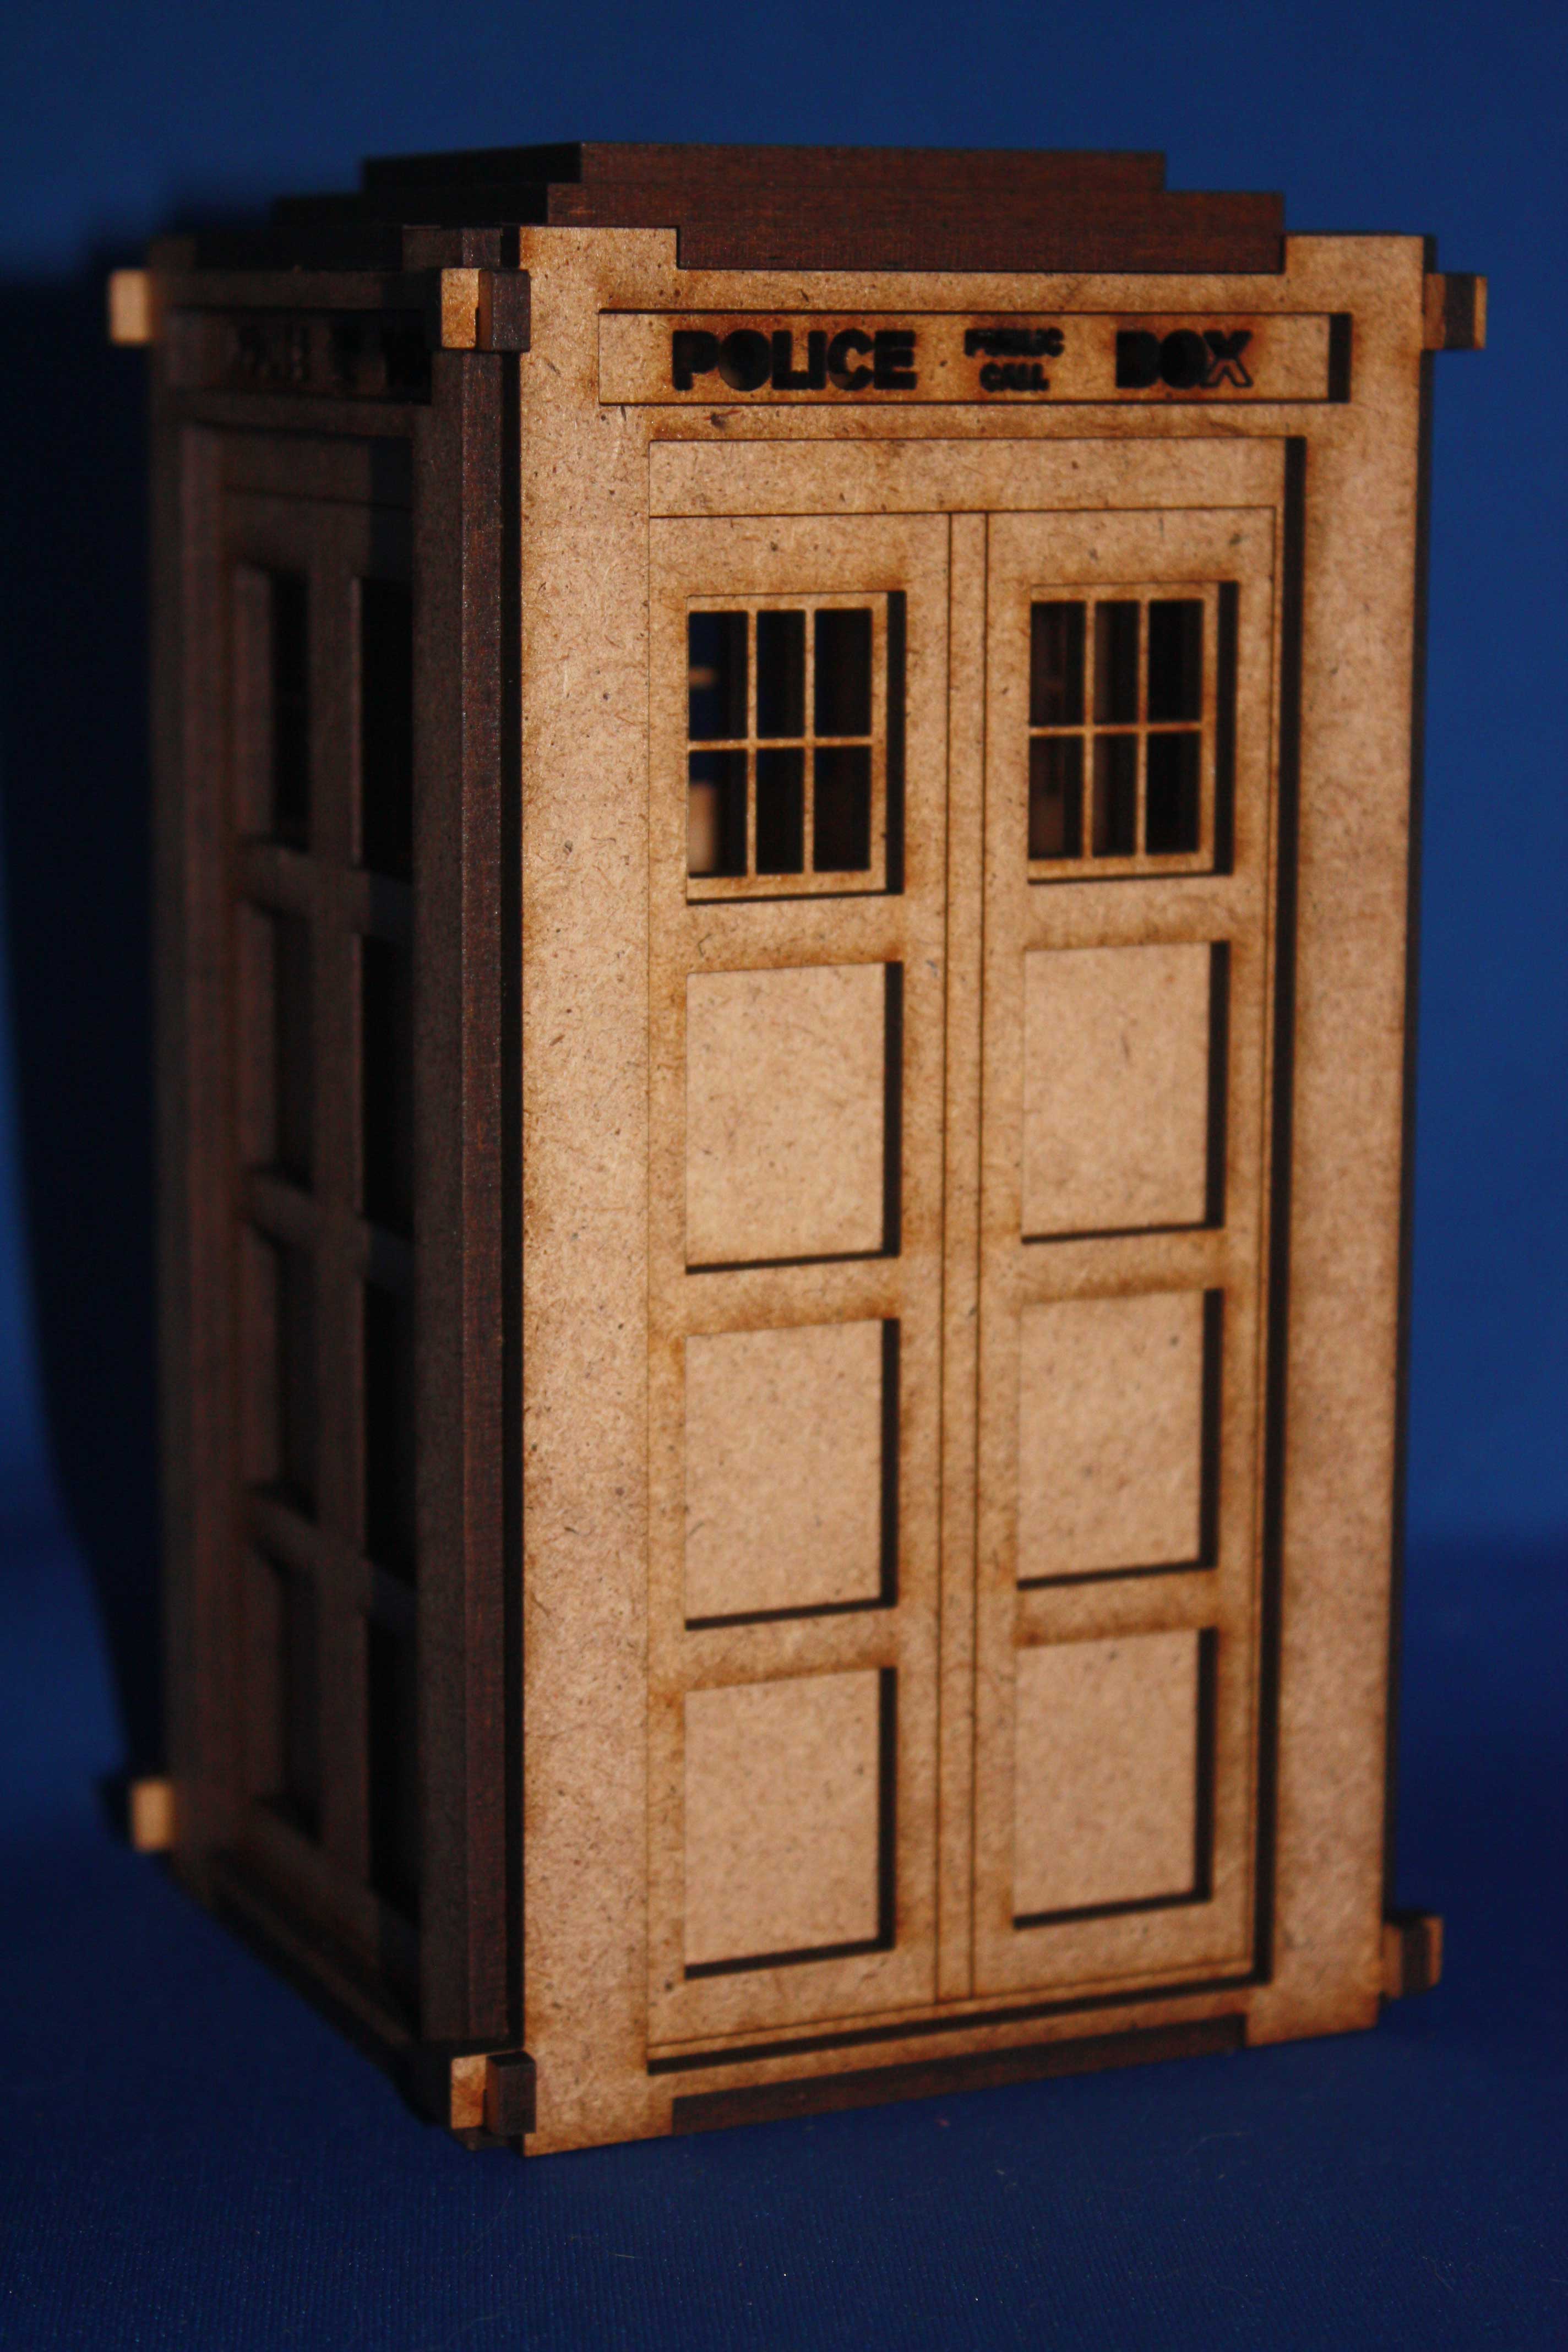
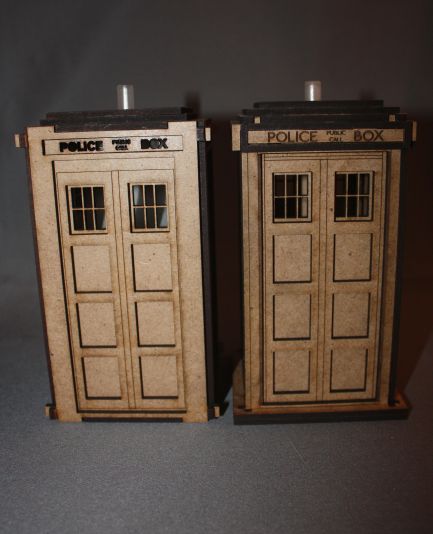
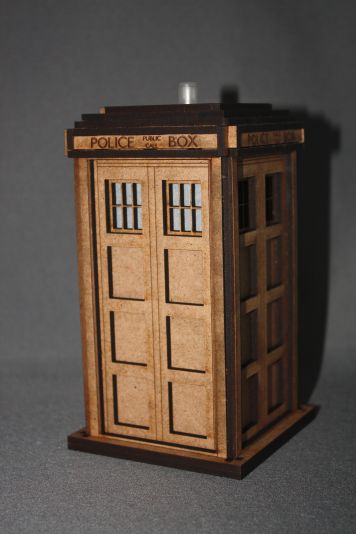
Slight revision for the models to be shown to the BBC - TARDIS Mk 8 - September 13, 2010
The biggest change between the Mk 7 and Mk 8 models was in the design of the plinth at the base of the model. The revised design on the Mk 8 made the base fit more securely and strengthened a weak point at the bottom of the outer side pieces. The Mk 8 also featured a set of self adhesive labels for those that wanted to paint their TARDIS.
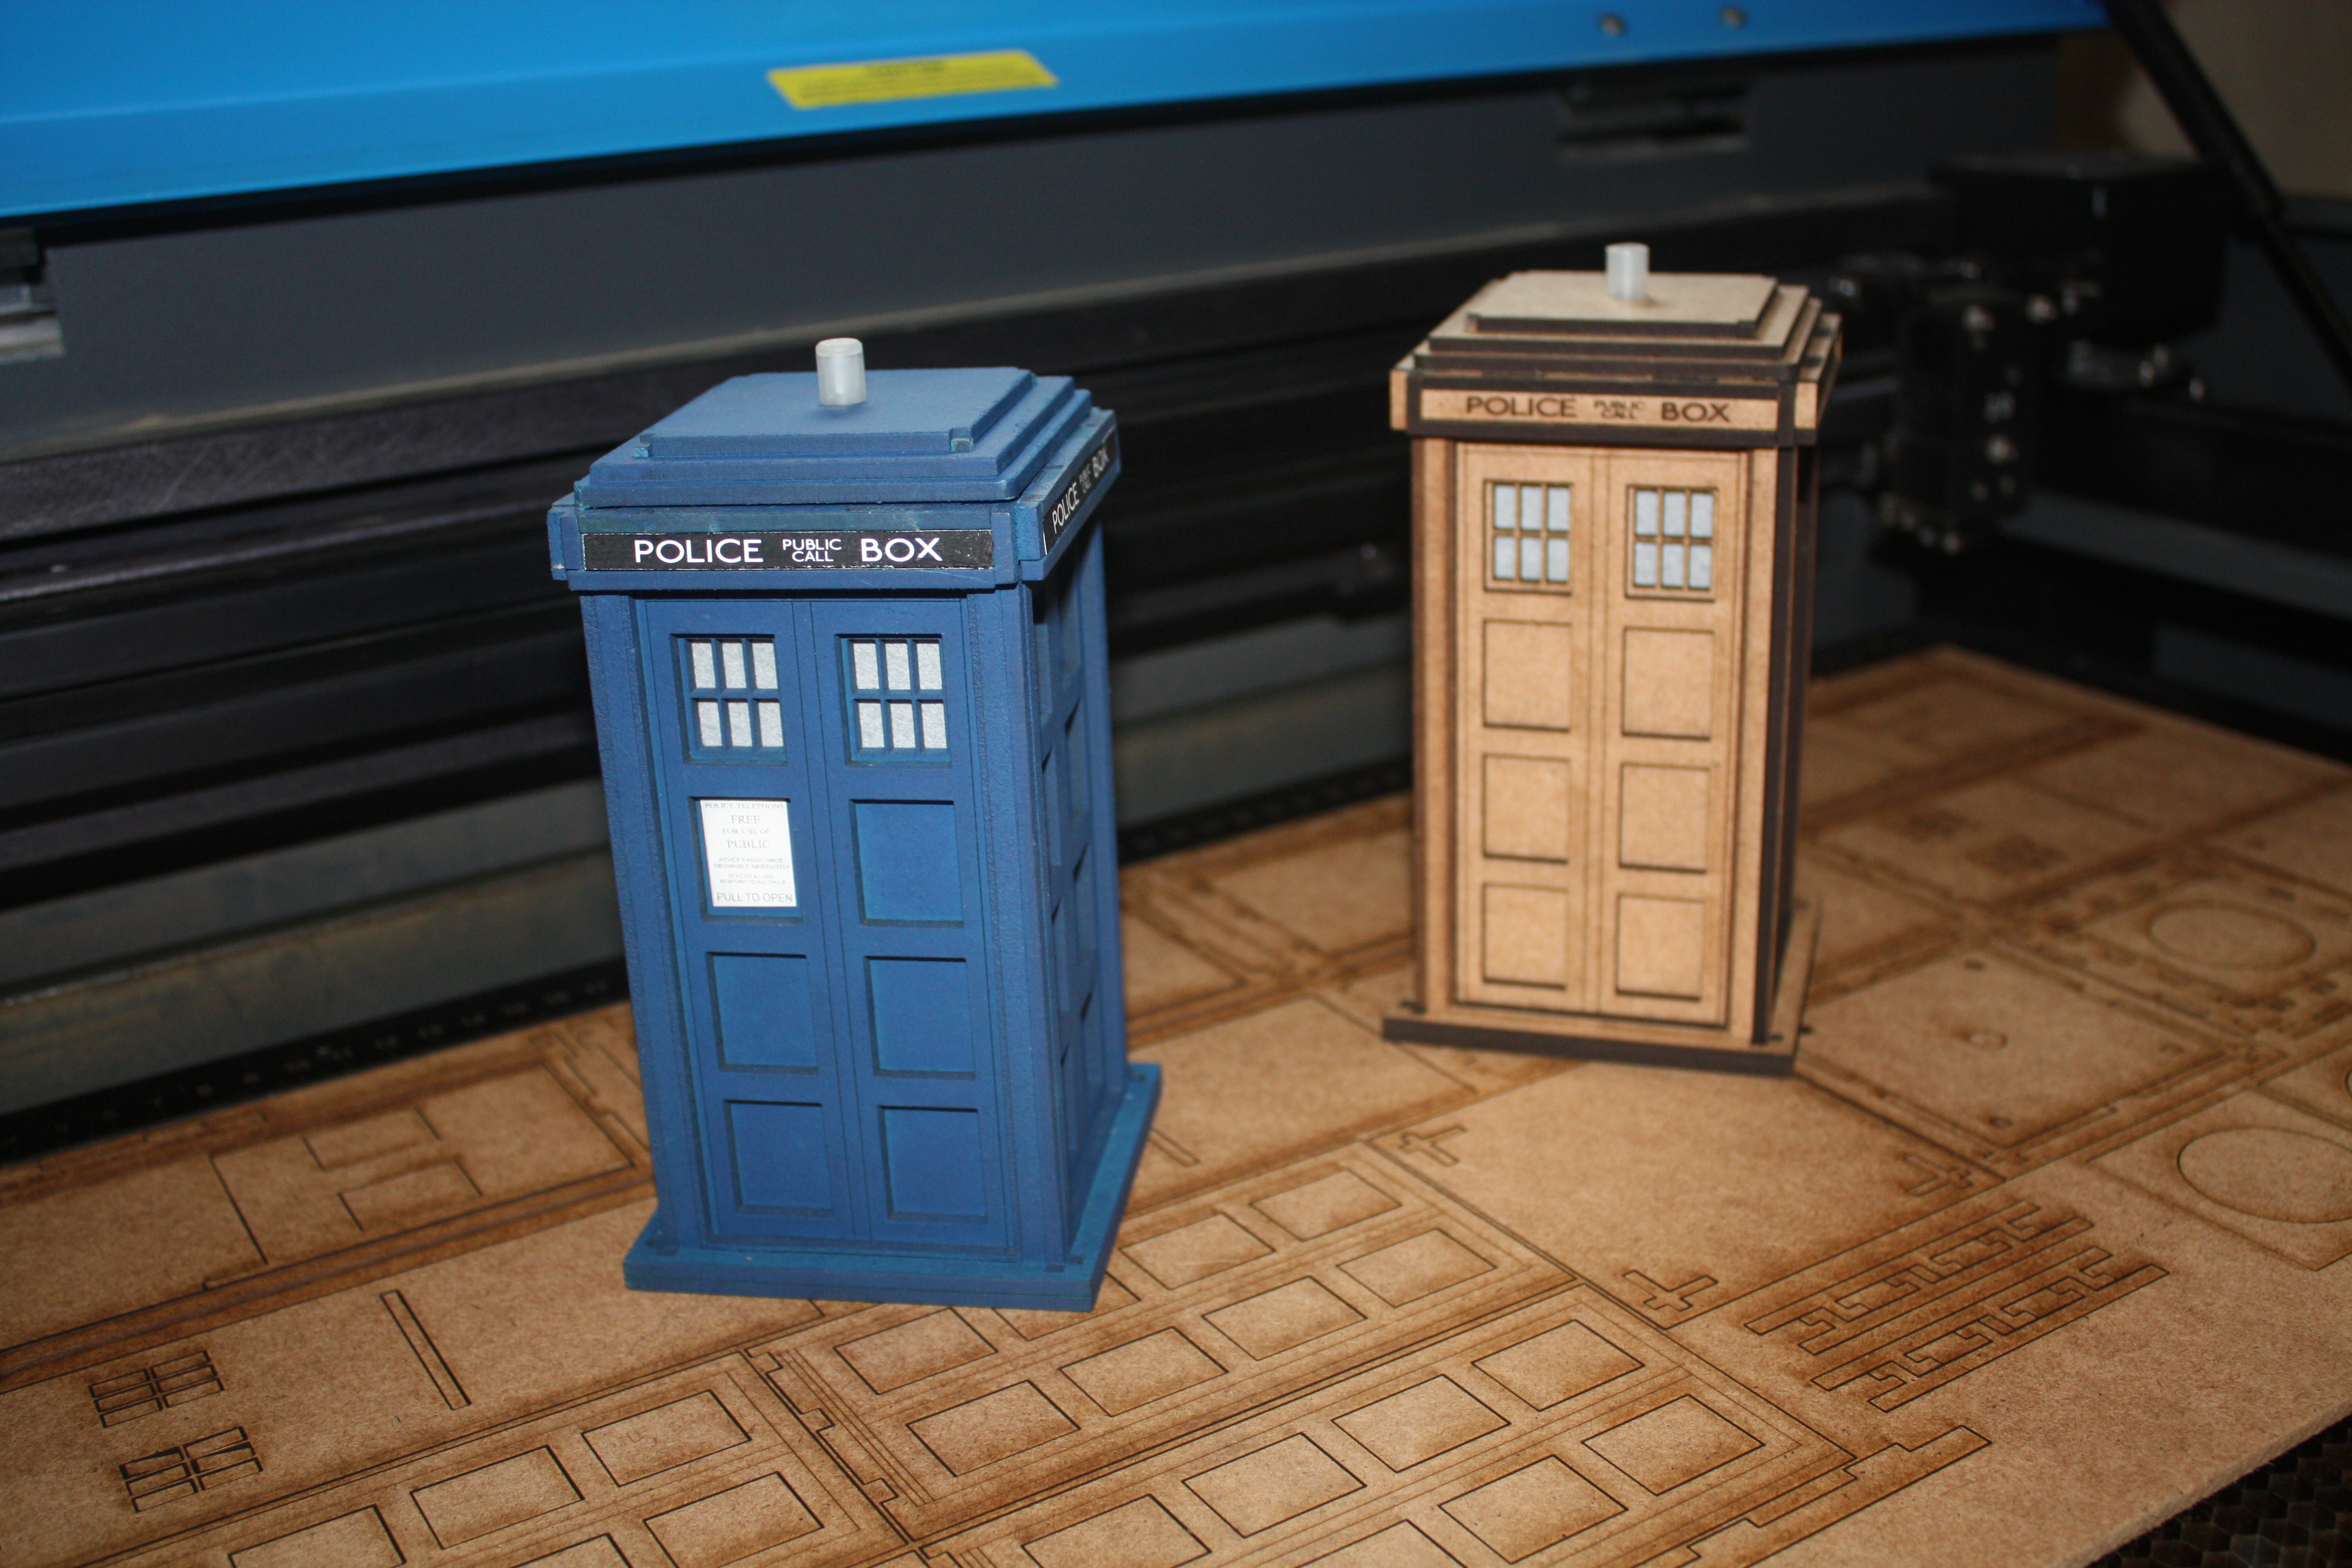
Here's the painted Mk8 TARDIS (with labels) and an assembled but unfinished Mk8 TARDIS on a freshly cut set of parts in the LASER cutter.
The painted TARDIS had some problems with the parts fit due to the current level of humidity (it's always humid in Newfoundland) and subsequent swelling of the HDF from the water in the water based paint, but as a colour test piece it worked fine.
3 of this generation of TARDIS models (one assembled and painted, one assembled but in raw finish, and a kit of parts) were hand carried to London to show the BBC. The BBC liked the models, but they insisted on changes.
The biggest change the BBC wanted was to replace the flat roof with a sloping roof.
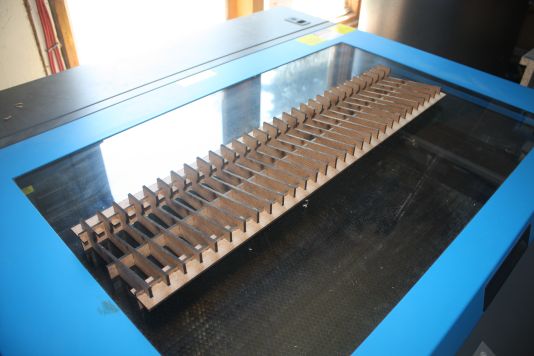
Making this change turned out to be a major engineering challenge. My calculations indicated that I needed to create a 10 degree slope on the roof to make it look right, but unfortunately, cutting the pieces on the flat bed of the LASER was not going to be easy. In the end, I constructed 2 jigs to assist in the manufacture.
The first jig held the MDF material to be cut at a 10 degree angle on the LASER cutting bed. Due to the LASERs restricted focus range, the roof pieces were cut in multiple passes with the laser height altered between each pass.
The second jig held the parts together while the glue used to join the parts was allowed to dry.
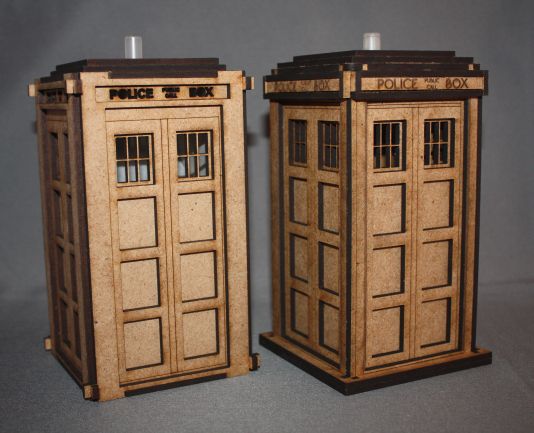
Here's the first sloping roof test piece fitted to a Mk8 model.
And here's same sloping roof test piece fitted to a Mk8 model side by side with a standard flat roof Mk8 as a reference.
This method of cutting and assembly looked feesable, but I wasn't happy with the results.
The change in the look if the roof indicated to me that I needed to re-engineer everything above the "Police Box" signs to closer match the actual Dr Who prop.
... to be continued